This post is coming to you from the Nissan dealership lounge. Exciting, I know. I’m going to be sitting here for about an hour and a half, since my car is way overdue for an oil change plus while I was in Sweden I got some sort of safety recall about the passenger airbags. Good thing I don’t really ever have passengers in my car! At least there is coffee and wifi and comfortable chairs to set up camp in.
One of the fun projects I’m working on while sitting at the dealership is going through all the pictures I took pictures of (because I couldn’t find a scanner in Linköping) that were sitting in an album in my grandma’s apartment. Like, baby pictures of me and my brother, pictures of my parents, and all sorts of crazy finds. I guess my mom sent my grandma (who we call mormor in Swedish) album after album when we were little, since we were in the US and she was in Sweden. So getting to look through those albums and see some pictures I’ve never seen before or haven’t seen in years was fun. There’s a really cute one of me being all little Swedish blonde child sitting on the kitchen floor baking. I guess we now know where all this comes from!
Any suggestions on how to best crop these pictures? They weren’t perfectly flat when I took pictures of them, so it’s not as easy to line up the square edges. I know I can crop as necessary and hopefully scan them next time I go visit, but figured I would ask in case any of you read the nonsense I write and had any ideas!
I have to say, I’m pretty impressed with how much I’ve accomplished this week, socially. I try and be as social as possible and see friends, but when I work almost every night, it’s hard to do. This past week, stars seemed to align and I had a few nights off or early nights where I could see friends and drink delicious drinks. Like spicy cocktails with tequila, cointreau, mango puree, jalapenos, and fresh lime juice. It was SO GOOD. It’s called the Spicy Mango Tree and you can get it at High which is a rooftop bar in Venice. I definitely need to figure out how to recreate it (and learn how to make cocktails) because I am a fan of spicy drinks now.
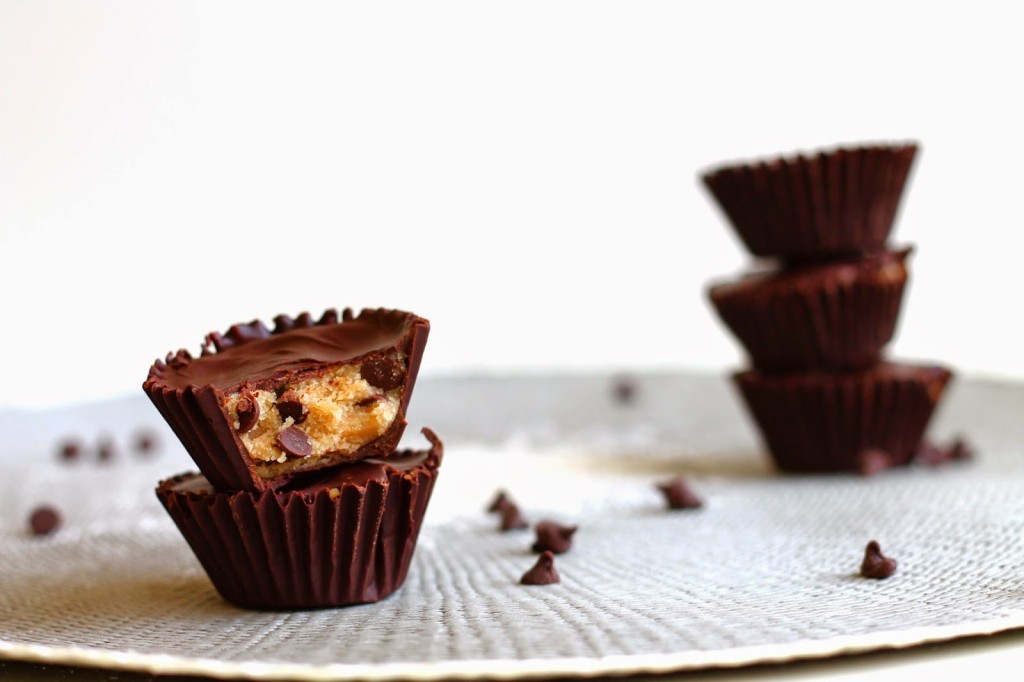
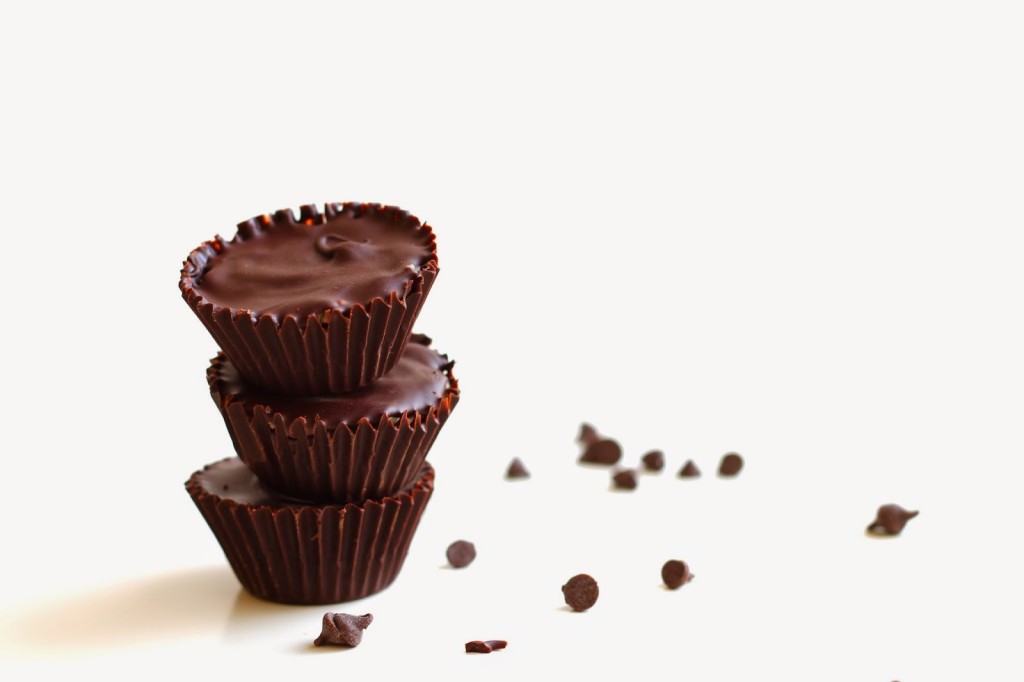
Now that I’ve rambled about pictures, spicy drinks, and the Nissan dealership, let’s ramble about these cookie dough cups. (How’s that for a segue?)
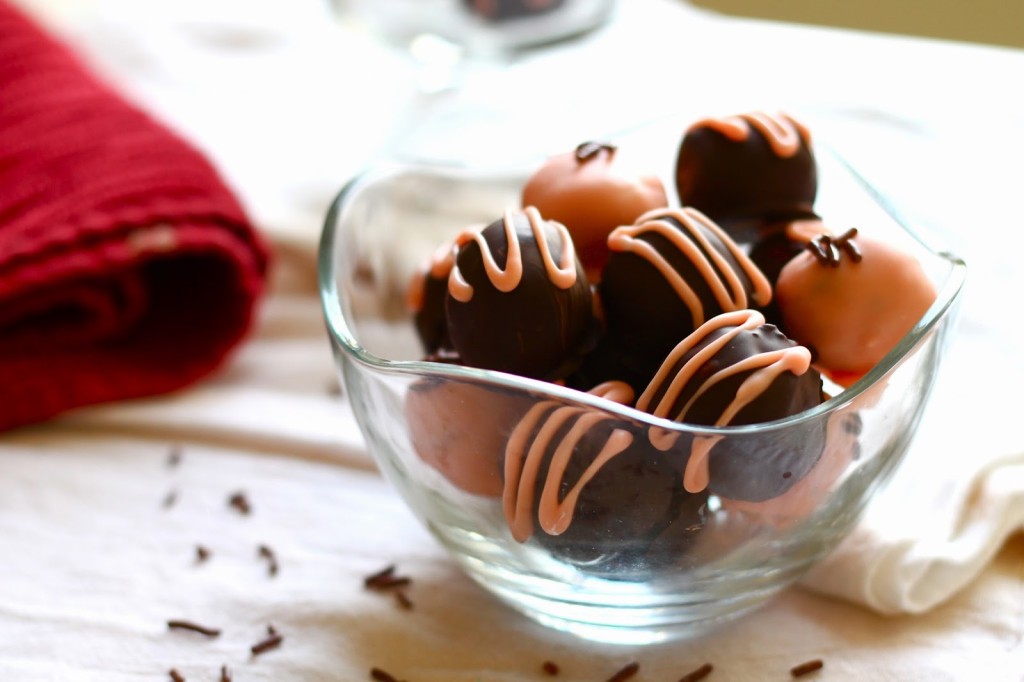
I’ve been thinking about making something like these for awhile, especially since I love cookie dough truffles so much. Because who doesn’t love cookie dough encased in chocolate? And now that I’ve figured out how to make these, I can think of doing something with a peanut butter cookie dough to replace peanut butter cups. I could make homemade Reese’s cups. I could make them with a marshmallow center. Sorry, I’m getting ahead of myself.
I made two versions of these. I didn’t know how much cookie dough I would need, considering the truffles recipe made 30-40 truffles. I halved the cookie dough, realized I would need a full batch, made another half batch and decided to experiment. Half of these cups have regular cookie dough made with softened butter and the other half have a brown butter cookie dough. Both are delicious but I love the extra flavor the brown butter gives the dough. I made a note below with the recipe (it’s for a full batch of the cookie dough) about the butter as well with extra instructions in the Notes section about browning butter, if that’s what you want to do.
They take some time because of the chocolate needing to be brushed and then hardened, but it took maybe 1.5-2 hours at a leisurely pace and they’ll keep well in the fridge. If you know how to temper chocolate, go for it and then these can be stored at room temperature. But I don’t know how and prefer to refrigerate them anyway. I used dark chocolate but feel free to use milk chocolate or a semi-sweet chocolate if you prefer that.
In conclusion, I suggest you make these and enjoy them 🙂
Chocolate Chip Cookie Dough Cups
makes 24 cups
1/2 cup (1 stick) unsalted butter (softened or browned)*
1/4 cup granulated sugar
1/2 cup light brown sugar
2 tablespoons milk
1/2 teaspoon vanilla extract
1 1/4 cups tablespoon all-purpose flour
1/2 teaspoon salt
1/2 teaspoon baking soda
1/2 cup mini chocolate chips
9 ounces dark chocolate, chopped and separated (5 1/2 oz and 3 1/2 oz)
Line a mini muffin tin with liners. In a microwave safe bowl, add 5 ounces of dark chocolate. Microwave for 30 second intervals, stirring between each interval. Once the chocolate is melted and smooth, add 1/2 ounce chopped chocolate. Stir together until chocolate is smooth again.
Pour about 1 teaspoon of melted chocolate into a liner. Using a pastry brush, brush the chocolate around the liner so it’s covered in chocolate. Repeat with remaining liners. Place muffin tin in freezer and let the chocolate set.
While chocolate sets, prepare cookie dough. In a large mixing bowl, beat butter, granulated sugar, and brown sugar together until smooth and creamy. Add milk and vanilla, stirring until combined. Add flour, salt, and baking soda. Stir until dough just comes together. Mix in chocolate chips.
Remove muffin tin from the freezer. Spoon roughly a 1/2 tablespoon of cookie dough into each liners, pressing down gently. The cookie dough should nearly reach the top of the liner but there should be enough room for a final chocolate layer.
In another microwave safe bowl, add 3 ounces of dark chocolate. Microwave in 30 second intervals, stirring between each. Once chocolate is melted and smooth, add last 1/2 ounce of chopped chocolate and stir until melted and smooth. Pour roughly 1/2 teaspoon melted chocolate on top of each cookie dough cup, using the back of the teaspoon to spread the chocolate around so it covers the cookie dough.
Place muffin tin back in the freezer or fridge until chocolate has hardened. Store in the fridge.
Note: I made two half batches, one with softened butter for a regular cookie dough and one with brown butter for a brown butter cookie dough. Both are delicious but I love the extra flavor the brown butter gives the cookie dough!!
To make brown butter: In a silver bottomed sauce pan, over medium heat, melt 1 stick (1/2 cup) of butter. Once butter has melted, whisk continuously as the butter bubbles up and resides. Brown flecks will start to form on the bottom. Once the butter is an amber color, remove from heat and whisk for 30 more seconds. Pour butter into a separate bowl and let cool.
[source: adapted from these truffles]




Leave a Reply